
This tutorial demonstrates how to make your very own Rainbow Ball for the Rainbowret Hat pattern. Creating the Rainbow Ball requires you to join wool and wool blend yarns with the spit splicing method.
For the sample Rainbowret seen in the pattern photos, the colours were added in the following sequence: red, orange, yellow, green, blue, purple. This is how colours graduate on the colour wheel, rather than the classic rainbow sequence, and you can choose your own colour sequence!

1) All of your wool oddments can be used effectively in the Rainbow Ball! Collect together any oddments that you may have. Variegated and semi solid yarns can fit very nicely, especially if they sit between two related colours. The Rainbowret used oddments of DK – light worsted or sports weight should substitute nicely.

2) To start your Rainbow Ball, you'll want to cut lengths of yarn into approximate lengths of 1.35 [1.49, 1.62, 1.75, 1.89, 2.02] metre or 1.47 [1.63, 1.77, 1.92, 2.07, 2.2] yards – each length is the approximate length needed to work one round of the Rainbowret pattern – differences in gauge or fibre type or yarn weight would require different lengths.

3) You then want to start joining the yarns! To prepare for the join, fray open the ends of the yarn(s) and remove about 2 inches (5 centimetres) of one of the plies. If it's a single ply yarn, unspin it and remove roughly the same amount – 25% – of fibre to the same length.

4) Next, overlay the frayed ends so that they join better. The reason for removing one of the plies is to remove the bulk when it is felted. Overlap the frayed ends to the point on each where the ply was removed (about 2 inches or 5 centimetres overlap).

5) Now you're going to felt the ends together – use some warm water or saliva, and rub the interlaced ends together between the palms of your hands until they are sufficiently joined.

6) And hey presto, a really neat little join! Give the new yarn a gentle tug to make sure it's strong enough – if it isn't firm, it may need some extra felting, as per step 5.

7) Keep going in this manner, adding colours in the sequence – for the Rainbowret the colours were added in the following sequence: red, orange, yellow, green, blue, purple.

8) If you work a small swatch (recommended to at least check gauge and determine which size in the pattern you should knit!) you'll notice how the colours graduate.

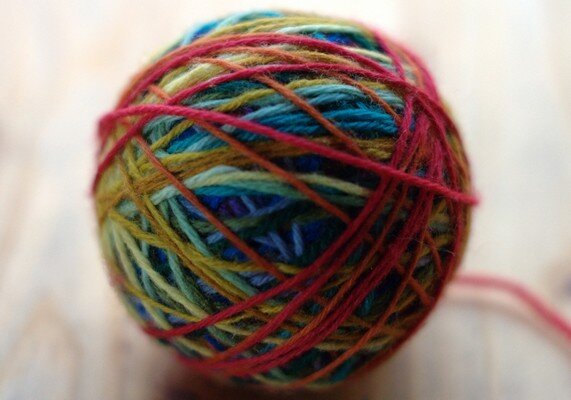
9) Once sufficient colours have been added, you may wish to skein and wash the yarn, although this isn't necessary. You are aiming to have a skein of yarn with approximately 44 [54, 66, 78, 94, 108] metres or 49 [59, 73, 86, 103, 118] yards.
As noted above, these lengths are approximate and were calculated on the average length per weight unit of the DK yarns used in the sample. Any variation in gauge or yarn weight could result in a different yardage, I'm afraid!
That said, it's super easier to add in extra yarn should you find yourself running out – simply add another length of the next colour in the sequence as you go. In fact, you may find it easier to add the lengths as you go, rather than joining them all in one go at the beginning.
Support
As always, if you have a question about this technique or need some help with it, leave a comment below! I’m afraid I’m unable to offer help via email or private message, but you’re welcome to post in our forums.


