
Description
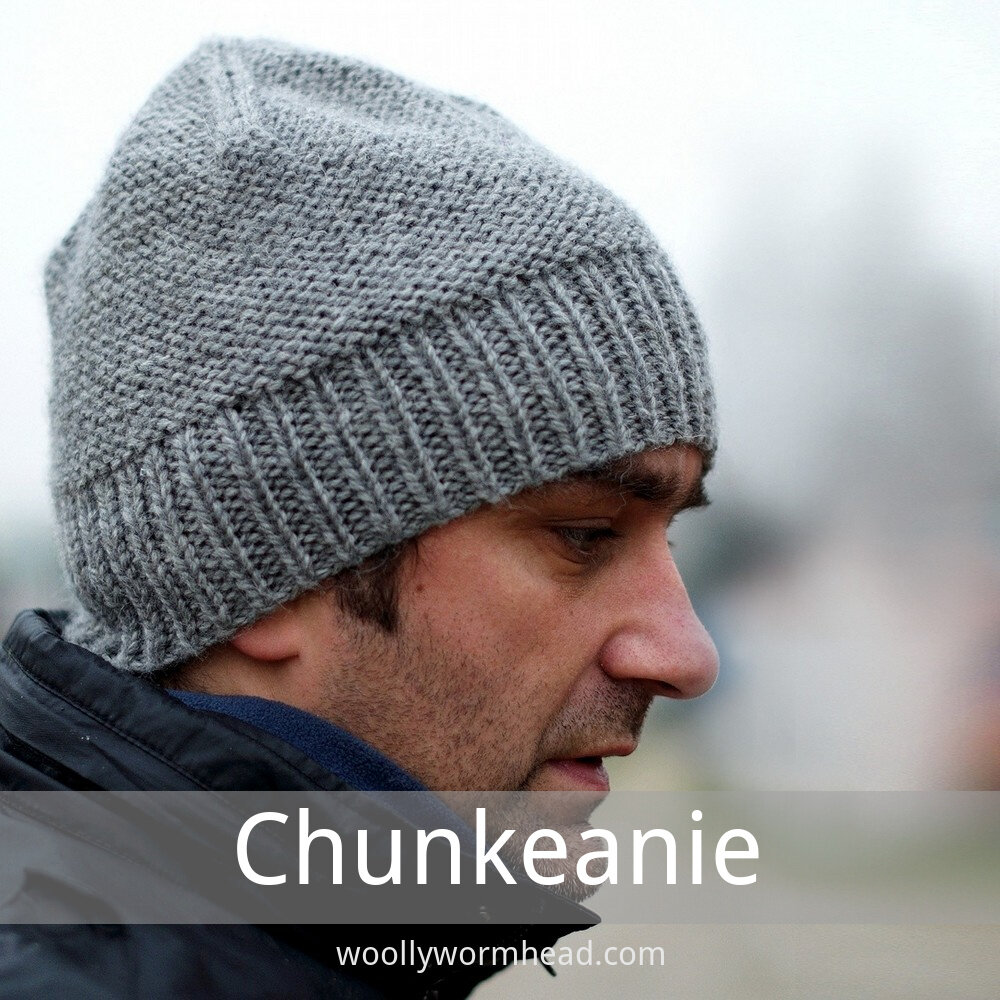
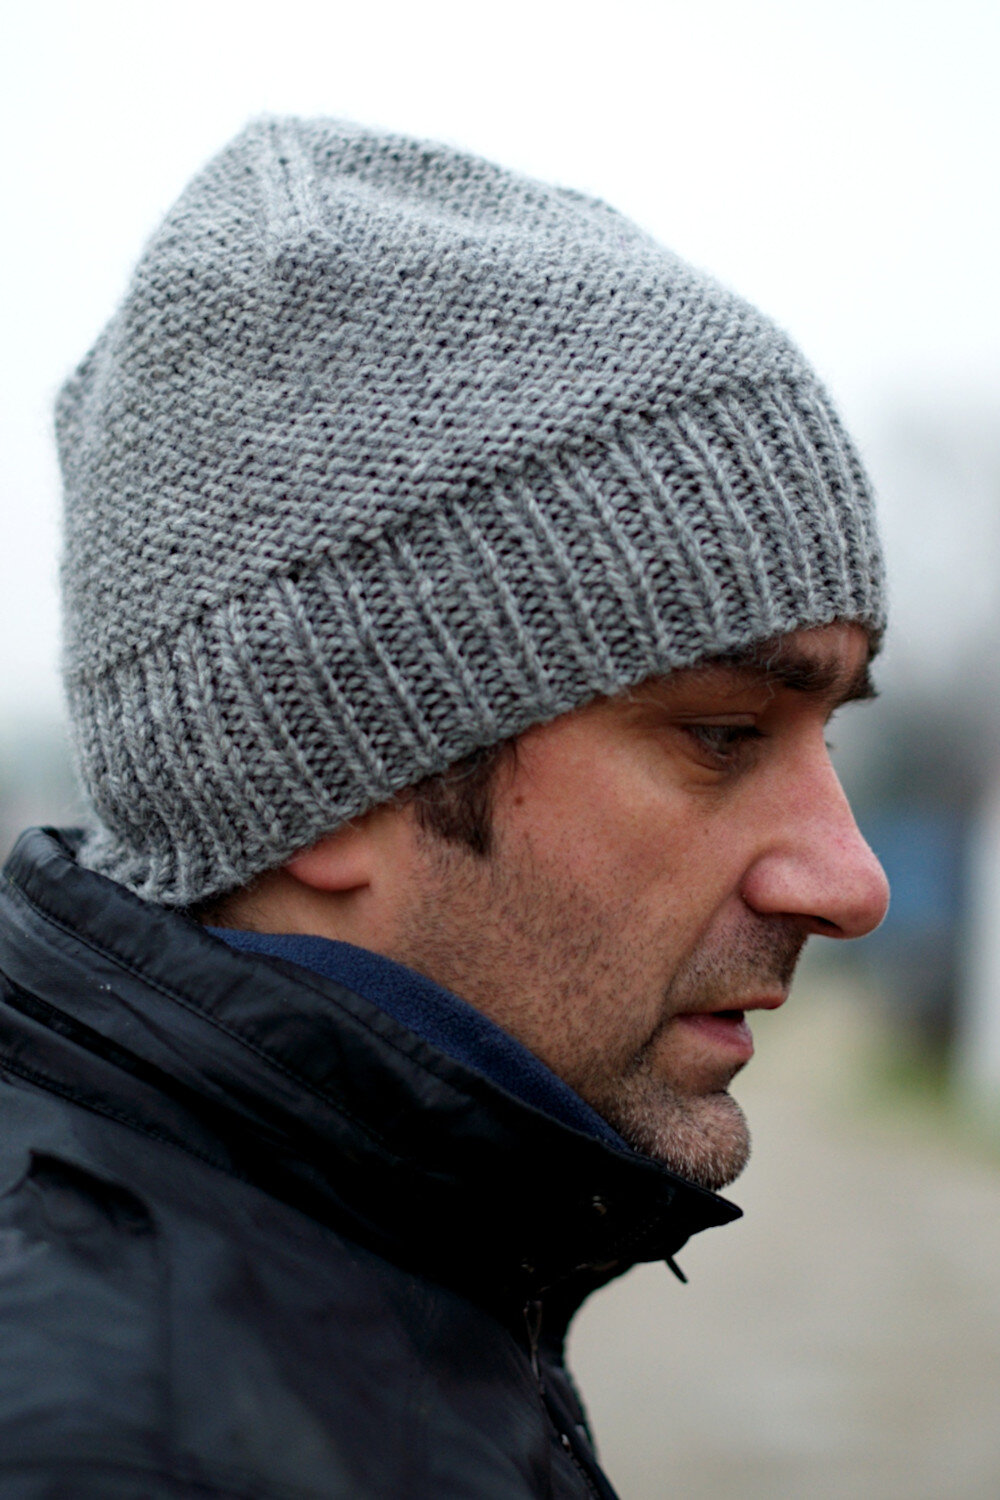
Chunkeanie is a straightforward beanie. It starts with a classic ribbed brim and the body is worked entirely in reverse stocking stitch. The crown has double decreases along four lines, which makes the top of the Hat have a vaguely squarish shape.
Availability
My Patreon supporters and members of The Woolly Hat Society get exclusive early access to new free patterns and tutorials. Once the exclusive period is over it’s published here on the blog.
Support
If you have a question about this pattern, pop it in a comment below. Sorry, but I’m unable to help with my free patterns or tutorials via email or private messages.
Social Media
Share your hand-knit Hats online with these hashtags!
#WWChunkeanieHat
Yarn
160 yd/140 m/100g
Chunky weight, plied yarn.
Needles & Notions
Set 5mm/UK6/US8 DPNs/Circular or size needed to obtain gauge
Stitch marker as necessary
Tapestry needle
Sample details
Shown in Jamieson & Smith Shetland Chunky [160yd/148m per 100g; 100% Wool]
Gauge
16 sts x 20 rows to 4in/10cm on 5mm needles over St.St.
Sizes
To fit sizes: 19 [21, 23] in/48 [53.25, 58.5] cm
Finished size: 16 [18, 20] in/40.5 [45.75, 50.75] cm
Not sure which size to make? Check my handy size and measuring guide!
Skills required
Ribbing
Stocking Stitch
Knitting in the round
Abbreviations
K: knit
P: purl
rpt: repeat
st(s): stitch(es)
M1: pick up the horizontal loop before the next stitch, place it onto the left needle and knit into the back of it
SSK: slip next 2 sts knitwise, then knit these 2 sts together through the backs of the loops
k2tog: knit next 2sts together
How to
Using Alternate Cable cast-on method, cast on 64 [72, 80] sts. Join in the round, being careful not to twist sts. Place stitch marker to indicate start of round.
Brim
Now work K1, P1 rib until work measures 2.5 [2.75, 3] in/6.25 [7, 7.5] cm.
Body
Next Rnd: Purl all sts
Repeat this round, forming reverse stocking stitch, until work measures 6 [6.5, 7] in/15.25 [16.5, 17.75] cm including the brim.
Crown
19in size jump to Rnd 5, 21in size jump to Rnd 3, 23in size start at Rnd 1.
Rnd 1: *ssk, P16, k2tog; rpt from * to end [72 sts]
Rnd 2: *K1, P16, K1; rpt from * to end
Rnd 3: *ssk, P14, k2tog; rpt from * to end [64 sts]
Rnd 4: *K1, P14, K1; rpt from * to end
Rnd 5: *ssk, P12, k2tog; rpt from * to end [56 sts]
Rnd 6: *K1, P12, K1; rpt from * to end
Rnd 7: *ssk, P10, k2tog; rpt from * to end [48 sts]
Rnd 8: *K1, P10, K1; rpt from * to end
Rnd 9: *ssk, P8, k2tog; rpt from * to end [40 sts]
Rnd 10: *K1, P8, K1; rpt from * to end
Rnd 11: *ssk, P6, k2tog; rpt from * to end [32 sts]
Rnd 12: *K1, P6, K1; rpt from * to end
Rnd 13: *ssk, P4, k2tog; rpt from * to end [24 sts]
Rnd 14: *K1, P4, K1; rpt from * to end
Rnd 15: *ssk, P2, k2tog; rpt from * to end [16 sts]
Rnd 16: *K1, P2, K1; rpt from * to end
Rnd 17: *ssk, k2tog; rpt from * to end [8 sts]
Break yarn and draw through remaining 8 sts, tighten to close.
Finishing
Weave in all ends. Blocking isn't necessary but is recommended to help the crown shaping settle - block gently to avoid stretching the Hat.


One of the things high on my list of 'must do regulary' is to get a massage. Valentina (who modelled Alveare; not to be confused with the Ukranian Valentina who modelled Propello) is a friend of the Yard, and a damn good massage therapist, and we'll be seeing a lot more of her this year.
When we saw her last week, she asked if I could make a Hat for her brother, as a trade. He knew what he wanted, and hopefully I've designed it just right.
This isn't a style that especially suits Tom, worn high and tall like this, though I have noticed how popular it is with young Italian men so I'm not surprised it's what Valentina's brother wanted. However, by having a deep ribbed brim, the design becomes more versatile and can be worn folded up for a more fitted, traditional look.
He wanted a simple style, and simple it is. The key details are the deep ribbed brim and the 4 point crown shaping, worked in knit stitches against a reverse stocking stitch background. I could have worked the decreases into the ground stitch yet I felt that working them symmetrically, as a feature, made a simple Hat a little more interesting.
He also wanted grey, and he wanted warm. And that's where this yarn comes into it's own. It's the new Shetland Chunky from Jamieson & Smith, and it's a little different to their regular yarns because it's worsted spun, rather than woollen. It comes in all the same lovely colours that J&S are known for, and it is seriously warm.
And so I present Chunkeanie, named as such because, well, it's a chunky beanie. There are a million and one simple beanie patterns out there already, I know. But you know me, I can't help but write a pattern for any Hat I make. And hey, it's a freebie and I even wrote in a couple of extra sizes...


