

I've been thinking about knitted pleats a lot lately. As I've been preparing my older patterns for the new layout (less than a fifth of them to go, nearly done!) I've been creating new tutorials to support them - and the one I'm working on this week is knitted pleats, for my Pleated Beret pattern.
The Pleated Beret was published 8 years ago, and it never fails to amaze me when I look back at what I was doing back then - using pleats to create a crown shaping is something I'd still enjoy playing with now.
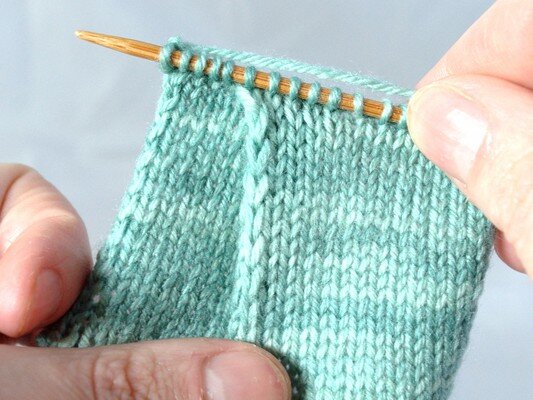
Just as you might make a pleat in sewing, you can in a piece of knitting too.

1) Invariably the pattern you are working from will have you set up the stitches in some way to ensure a pleat folds neatly – with the Pleated Beret pattern this is done with slipped stitches, forming a column in the fabric. Some patterns will have sections of stocking stitch and reverse stocking stitch instead of slipped stitches.

2) The first knitted pleat we will consider here is a pleat that folds to the left, as used in the Pleated Beret pattern.
Work in pattern until 4sts before the slipped stitch column (to make a pleat 5sts wide), so that the pleat width includes the slipped stitch column, and the slipped stitch will sit on the visible edge of the pleat.

3) Slip the next 5sts into a spare DPN, and the following 5sts onto another. Creating a 5st wide pleat requires 15sts, i.e. 3 x 5sts.

4) The key part of the pleat is arranging the stitches to be joined. Here they form a 'Z' formation, with the first 5sts at the front, and the last 5sts at the back. Simply fold the DPNs over until you have a Z fold in the fabric.

5) Slip the first stitch from the middle needle on the front needle, and slip the first stitch from the back needle onto the front needle, and knit these together with the first stitch on the front needle – k3tog. This part is similar to the Joining Live Sts method, except you have 3 sets of stitches.
6) Continue in this manner for all pleat sts, knitting one stitch from each needle together. One left leaning pleat has been created.
Then knit to the end of your work as directed, or as in the case of the Pleated Beret, work each pleat as given to create the crown shaping.
Right Leaning Pleat

7) To create a right leaning pleat of the same width, work until 10sts before the slipped stitch column.

8) Slip the next 5sts onto a DPN, and the following 5sts into another, and this time fold the needles and sts into an 'S' formation, so that the first 5 slipped sts are at the back, and the slipped stitch column is the first stitch on the front needle.

9) Same as before, slip the first stitch from the middle needle then the first stitch from the back needle onto the front needle, and knit these together with the first stitch on the front needle – a k3tog.

10) Perform this across all sts for the pleat. Continue until the end of your work – one right leaning pleat has been created.
————————————
Hope you find the tutorial useful!
Support
As always, if you have a question about this technique or need some help with it, leave a comment below! I’m afraid I’m unable to offer help via email or private message but you’re welcome to post in our forums.


