
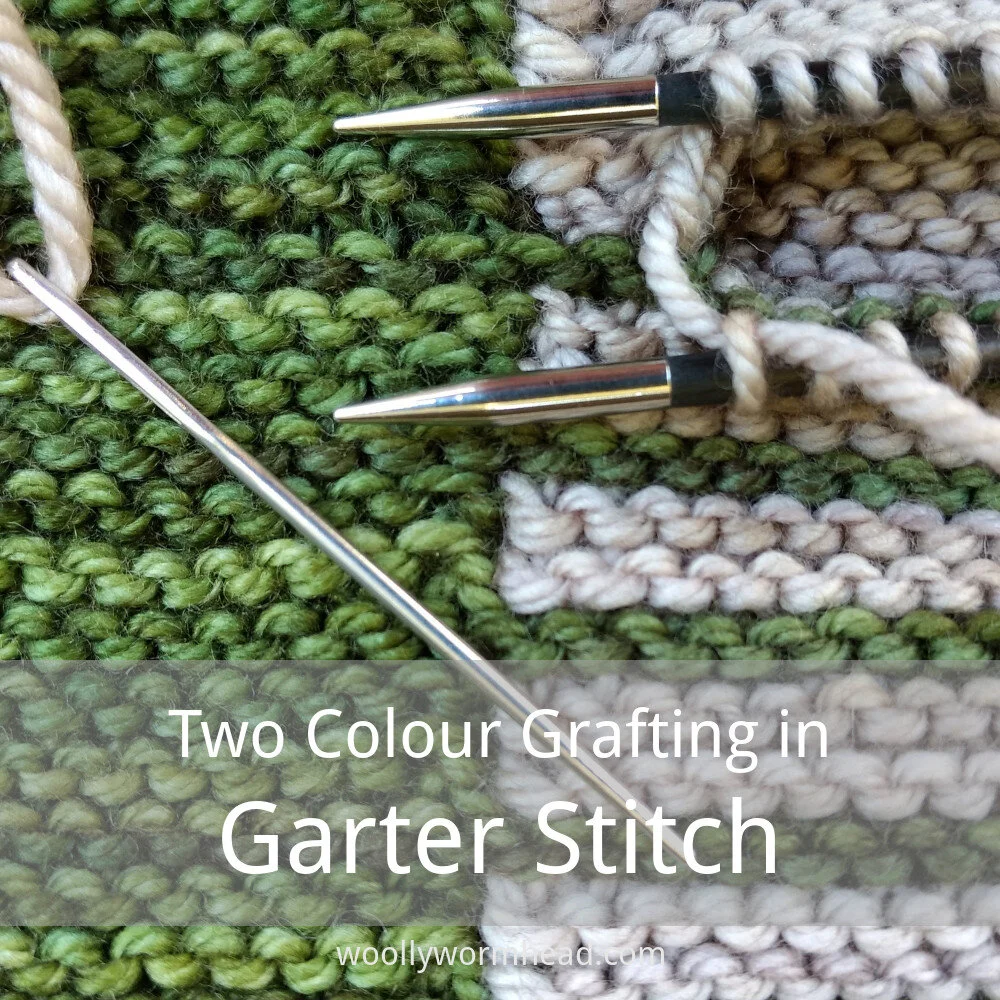
This tutorial has been written specifically for the Elemental collection and the Parallelo Hat pattern, but can also be used in any situation where you may be wanting to graft across a change in yarn.
The key to a successful graft is in the preparation, and ensuring that you have the correct number of stitches in each yarn or colour segment before starting the graft.

1) As you remove the provisional cast-on, you will notice that you are one stitch short on the released stitches. The usual advice would be to make up that extra stitch at the edge of the work, i.e. at the crown edge of a sideways knit Hat, but when we are grafting across two colours we need to ensure that the missing stitch is replaced in the right section. In this example the lighter coloured yarn is one stitch short.

2) If you look at the stitches after they’ve been released, you will notice an extra loop next to where the yarn changed colour – this should be in the yarn that has the missing stitch. Insert your needle into the loop from front to back, to ensure the new stitch has the same orientation as the others. At this point you will also have the yarn tail of the second coloured yarn – where this sits depends on whether you joined the new yarn on a right side or wrong side row, but you’ll want to slip it through the loop so that it sits at the front of the work as shown.

3) Then take the yarn towards the back, to the right of the loop – this is done to make your new stitch look the same as all the other stitches from the right side of the work.

4) Once all of the stitches are on the needle together, you are ready to graft. In this example the stitches that have been released will be on the back needle, and the graft will start with the lighter coloured yarn.

5) Work a regular garter stitch graft across the stitches until you reach the point of having only one stitch remaining in the first yarn. Insert your needle knitwise and slip the stitch off the needle – this is the first stitch of the graft, which is shown as step 3 in the garter grafting tutorial.

6) Then, using the same yarn and needle, insert your needle knitwise into the stitch on the back needle and slip it off – this is the step 5 of the garter graft, the 3rd stitch. What you are essentially doing is working to close the graft of the first yarn, as you would when you come to the end of a graft on a flat piece of knitting.

7) Now change to the second yarn, and we will treat this as you would when you are starting the graft at the beginning – by working the 2nd stitch (step 4) of the graft. Insert your needle purlwise into the next stitch, pull the yarn through, leaving the stitch on the needle.

8) Insert the needle purlwise into the first stitch on the back needle, pull the yarn through leaving the stitch on the needle – this is step 6 of the graft, the 4th stitch. You will now return to step 3 of the graft on the first stitch on the front needle, and continue grafting across the remaining stitches with the regular garter stitch graft.
This method of changing yarns is quite simple in practice – you simply perform the finishing steps on the final stitches of the first yarn, then restart the graft with the new yarn – that principle can be applied to stocking stitch and other stitches. As long as the preparation is done – making up for the missing stitch at the correct point – the graft will be jogless across the yarn changes.
As well as using this method for a change in colour of yarn, it can also be used for a change in thickness or texture of yarn, too. You can perform this graft across as many colour changes as necessary, allowing you to create a perfectly invisible seam across fairisle or stranded work (there will always only be one colour section which has one stitch short, so you will only need to perform the preparation once).
Support
As always, if you have a question about this technique or need some help with it, leave a comment below! I’m afraid I’m unable to offer help via email or private message but you’re welcome to post in our forums.


