

Creating a lateral braid across a row is virtually the same as in the round, except it starts and finishes slightly differently. To work this technique, you’ll also need to refer to my tutorial for Working a Lateral Braid in the Round.
1) In this example the braid will be worked across a slipped stitch pattern over garter stitch, and across short rows – you can work a lateral braid across any stitch pattern. Unlike when you work a braid across colourwork, where you want to work a plain row or round first, you want to do the opposite across stitch patterns and not work a plain row before starting.

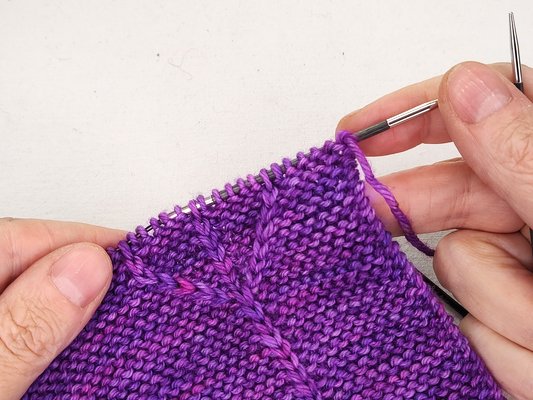
2) To start the braid, we need to create the stitch that will become the chain that travels across the work. Where we borrowed that stitch from the end of the round before, we need to increase it when working flat. The easiest increase to do is a kbf. Start by knitting into the back of the first stitch of the row, and leave the stitch on the needle.
3) Then knit into the front of the same stitch

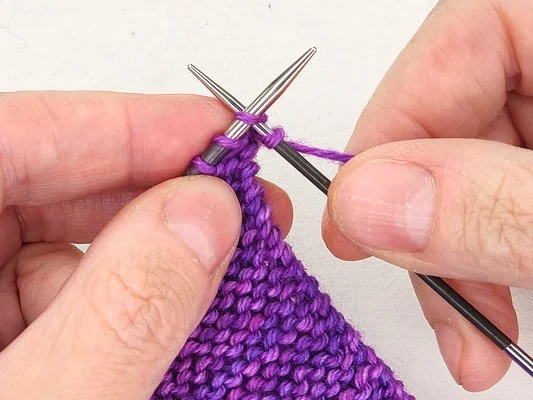
4) And drop both stitches off the needle

5) Then place the 2nd stitch back onto the tip of the left-hand needle – this will become the chain stitch.

6) From this point, repeat steps 2 to 6 of working the braid in the round. When you’re ready to finish, jump to ‘Finishing the Braid’ below.
Managing Textured Stitches
This tutorial was photographed whilst reknitting a sample for my Trittico pattern, which features slipped stitches across garter stitch. Because this braid method changes the orientation of the stitches we need to consider any patterned stitches we may be working the braid across, and prepare them. And it’s very simply done!

1) As you approach the pattern stitch that needs to have it’s orientation maintained, don’t immediately transfer the chain stitch

2) Insert the tip of the right-hand needle into the next pattern stitch on the left-hand needle and gently lift it up and off

3) Turn the stitch towards the back, or twist it once towards the right, then place the stitch back onto the left-hand needle

4) Then transfer the chain stitch and continue to work the braid
Finishing the Braid

1) As you reach the last stitch, whether it’s a regular stitch, patterned stitch or a short rowed stitch, we finish the braid in the same way each time

2) Transfer the chain stitch as before

3) Then insert your needle through the back loops of both the chain stitch and the stitch together and knit them together. We need to decrease the extra stitch we created at the beginning of the braid, and decreasing this way ensures the chain stitch lays on top
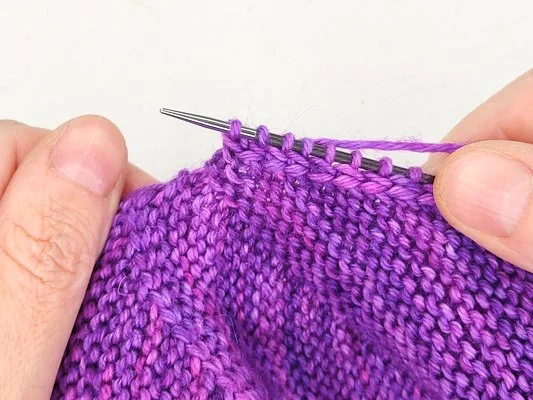
4) Once the braid is finished, you’ll simply turn your work and knit back across the stitches as directed in the pattern
Support
If you’ve a question about this technique, pop it in a comment below or visit the forum! I’m unable to offer help with patterns or techniques via email.


