
Description
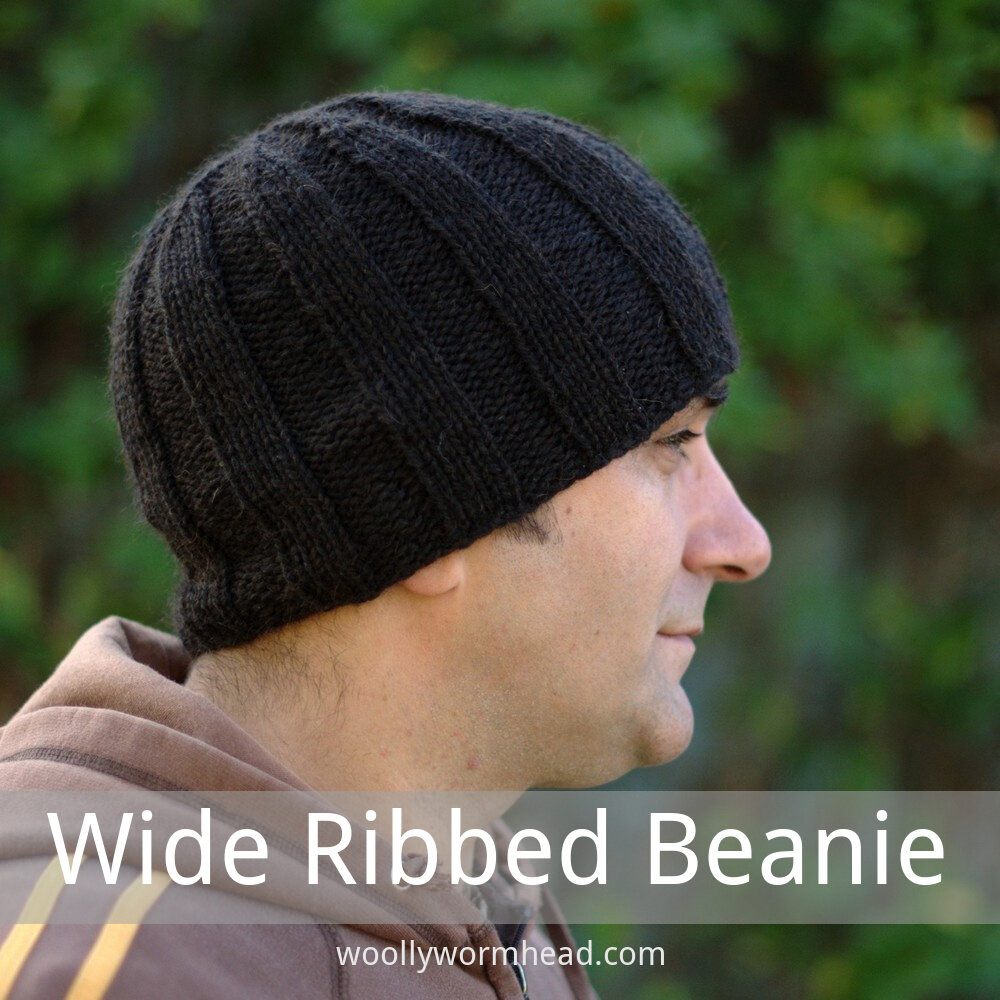
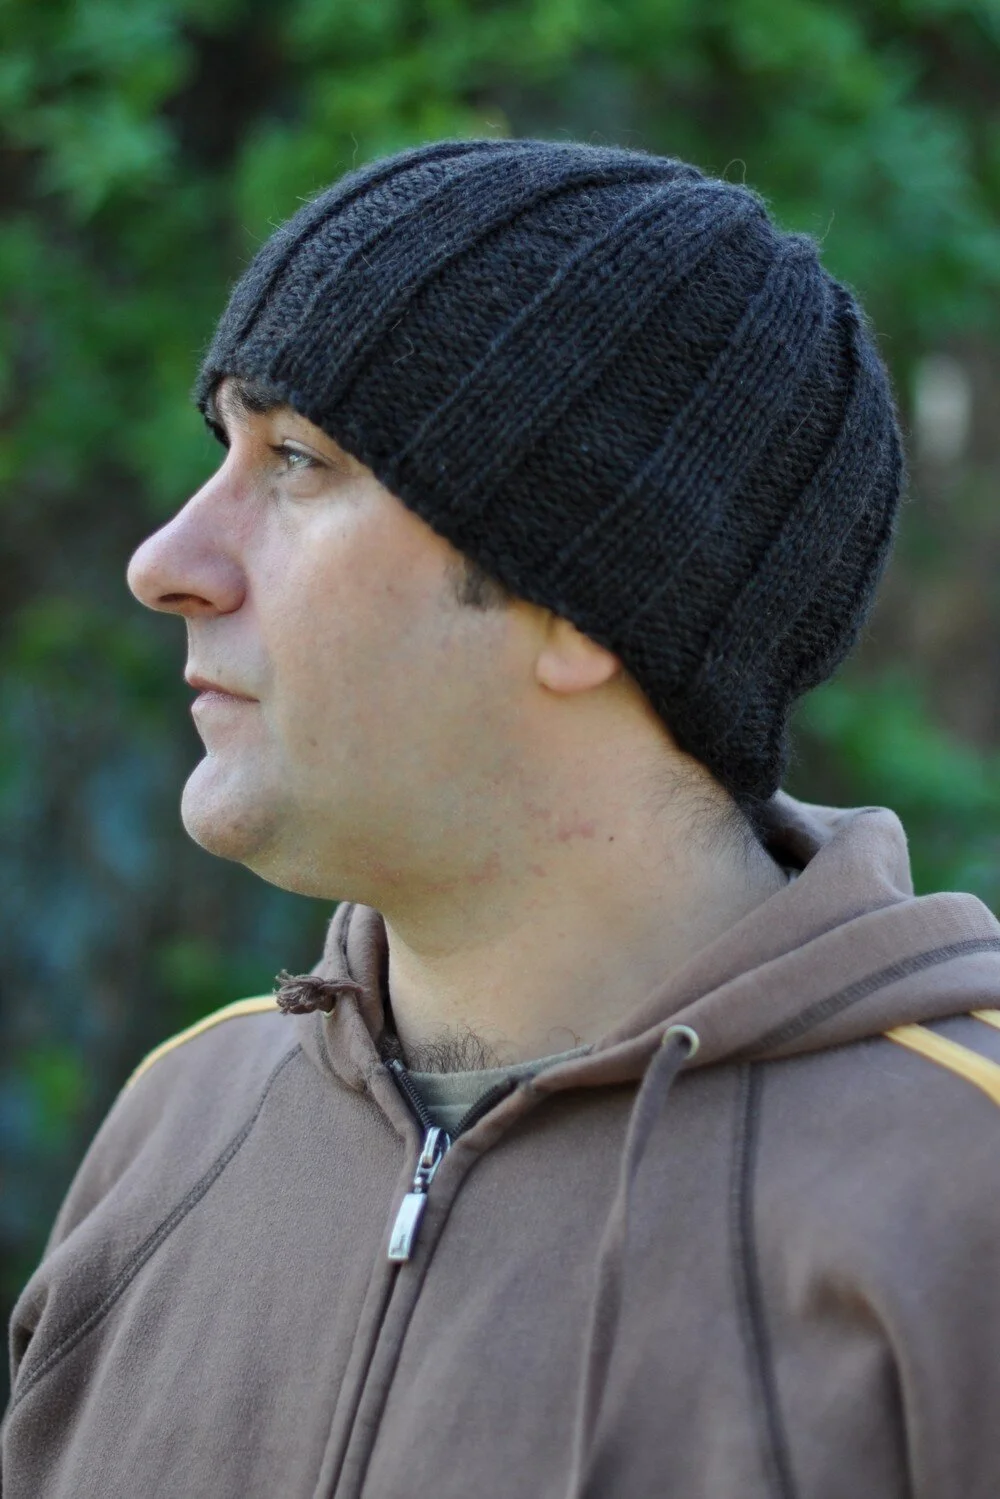
Wide Ribbed Beanie features a pattern of wide knit and purl ribs from brim to crown. The crown is short and shaping is incorporated into the pattern. The ribs narrow as they reach the centre.
Availability
My Patreon supporters and members of The Woolly Hat Society get exclusive early access to new free patterns and tutorials. Once the exclusive period is over it’s published here on the blog.
Support
If you have a question about this pattern, pop it in a comment below. Sorry, but I’m unable to help with my free patterns or tutorials via email or private messages.
Social Media
Share your hand-knit Hats online with these hashtags!
#WWWideRibbedBeanie
Yarn
164 yd/150 m/100g
Aran, Chunky or Heavy Worsted weight, plied yarn.
Needles & Notions
Set 5mm/UK6/US8 DPNs/Circular or size needed to obtain gauge
Stitch marker as necessary
Tapestry needle
Sample details
Shown in The Little Knitting Company Geko [164yd/150m per 100g; 85% Wool, 15% Alpaca]
Gauge
17 sts x 24 rows to 4in/10cm on 5mm needles over St.St.
Sizes
To fit sizes: 17 [20, 22, 24] in/ 43 [51, 56, 61] cm
Finished size: 15 [17, 18.75, 20.75] in/ 38.35 [43, 47.75, 52.5] cm
Not sure which size to make? Check my handy size and measuring guide!
Skills required
Ribbing
Knitting in the round
Abbreviations
K: knit
P: purl
rpt: repeat
st(s): stitch(es)
k2tog: knit next 2sts together
Notes
The main body of this Hat is worked in a rib based on multiples of 8. Should you wish, it would be easy to substitute a different rib – try a 7x1, 6x2, 5x3 or even a 2x2. However, to ensure the pattern created by the crown shaping remains in tact, always start the ribbing with the purl element.
To alter the length of the Hat to a longer beanie work until the main body measures an inch or so longer than stated; add an additional 3 inches should you want a fold up brim.
How to
Cast on 64 [72, 80, 88] sts
Join in the round, being careful not to twist sts.
Place stitch marker to indicate start of round.
Body
Next Rnd: *P4, K4; rpt from * to end.
This round forms the pattern for the main body. Work in pattern until the main body of the Hat measures approximately 5 [5.5, 6.25, 7] in/12.75 [14, 15.75, 17.75] cm (or desired length)
Crown
Rnd 1: *P4, K2, K2tog; rpt from * to end [56, 63, 70, 77 sts]
Rnd 2: *P4, K3; rpt from * to end
Rnd 3: *P4, K1, K2tog; rpt from * to end [48, 54, 60, 66 sts]
Rnd 4: *P4, K2; rpt from * to end
Rnd 5: *P4, K2tog; rpt from * to end [40, 45, 50, 55 sts]
Rnd 6: *P4, K1; rpt from * to end
Rnd 7: *P3, K2tog; rpt from * to end [32, 36, 40, 44 sts]
Rnd 8: *P3, K1; rpt from * to end
Rnd 9: *P2, K2tog; rpt from * to end [24, 27, 30, 33 sts]
Rnd 10: *P2, K1; rpt from * to end
Rnd 11: *P1, K2tog; rpt from * to end [16, 18, 20, 22 sts]
Rnd 12: *P1, K1; rpt from * to end
Rnd 13: *K2tog; rpt from * to end [8, 9, 10, 11 sts]
Break yarn and draw through remaining 8 [9, 10, 11] sts, tighten to close.
Finishing
Weave in all ends. Blocking isn't required although a gentle wash and blocking will help the stitches settle and even out. - block gently to avoid stretching the Hat.


Tom's always moaning at me about his lack of Hats. He moans that just about every Hat is either a gift for someone else, or is a pattern sample and isn't allowed near his head post photo shoot. He moans to me that the man who lives with the woolly Hat designer has very few woolly Hats.
This has now been rectified.
Originally the plan was to cast-on for Ribbed Beanie, a simple no-brainer pattern that wouldn't require me to think. Heck, he didn't want me to design a whole new pattern for him, as he knew it'd end up in the banned-from-wearing pile. So I dug through my stash, which is a little thin on the ground when it comes to chunky yarn, and remembered that I had some of the TLKC Geko yarn leftover from designing and knitting the Geko Beanie. It's a particulalry nice yarn, and I love the natural colours it comes in; it's the ideal mens Hat yarn.
Armed with only 73g, which wouldn't normally be enough for a Tom sized Hat, I cast on remembering that the yardage for this yarn was way better than average. Having already swatched and learnt how it behaved, I didn't need to worry about running out. The gauge was slightly different to that of the other ribbed beanie pattern, but that was only a wee bit maths. Once knit, there was about 5g of yarn left.
Now, I've never been keen on how the crown shaping worked on the Ribbed Beanie, and if I'm honest, it's a pattern I really don't like at all. It was written back when I was learning the ropes and always saw it as an exercise rather than a design, if that makes sense?
So I changed it. And we do like this one much more.
I did think about updating the Ribbed Beanie pattern, but seeing as the crown shaping is different enough, and the change in yarn and gauge meant rejigging and the need for an additional (larger) size, I figured I ought to publish it separately. Seeing as I completely and utterly fail at making a Hat without writing down what I did.
Not a bad way to start a monday, with a free pattern, huh?


